How to Set Up ContactForms
Follow these steps and your form will be ready in just a few minutes.
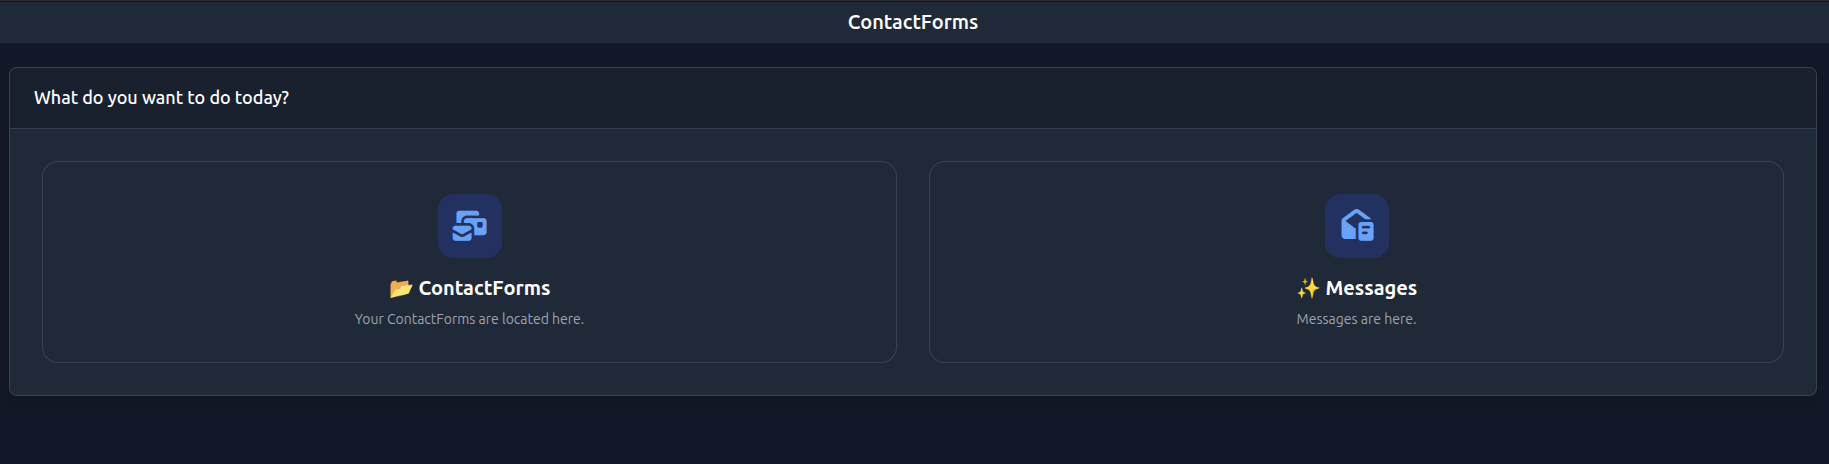

Open the menu and go to the “ContactForms” section. There you will find “ContactForms” and “Messages”. In “ContactForms” you can create and manage forms. In “Messages” you can view all incoming messages.
Your Setup in few steps
Create form
Open the “ContactForms” section and click “Add Form”.
Set name and description
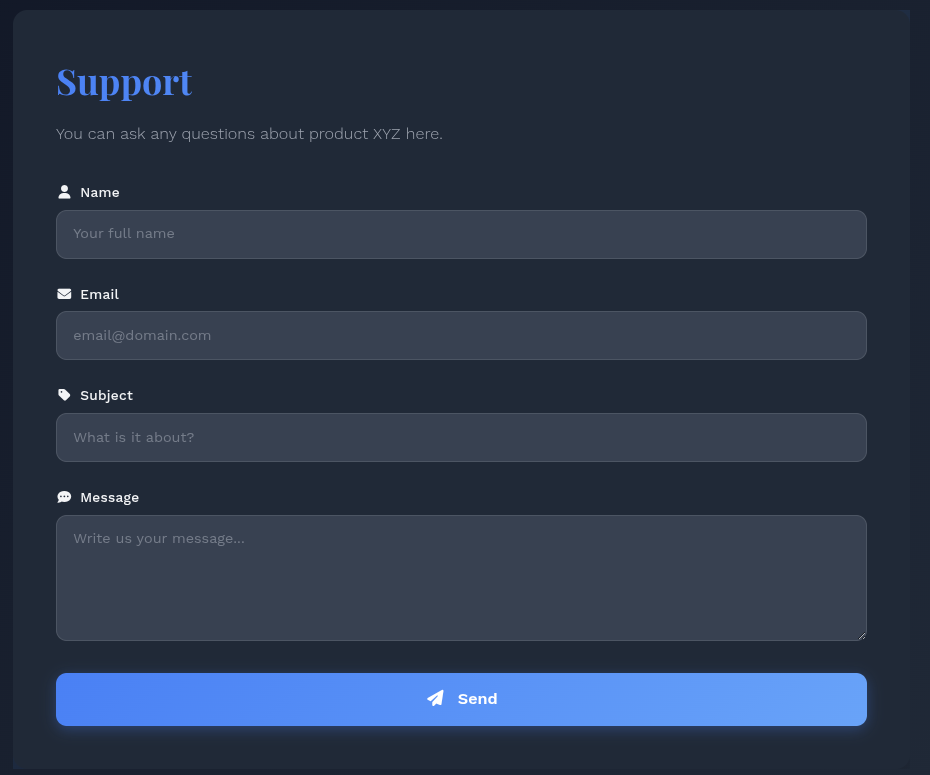
Define a name and description that will be visible to users.
Select language
The form adapts to your users’ language and influences how content is processed.
Connect knowledge base
Optionally connect a knowledge base to enable automated responses.
Generate AI response
If enabled, the form can automatically generate AI-based responses.
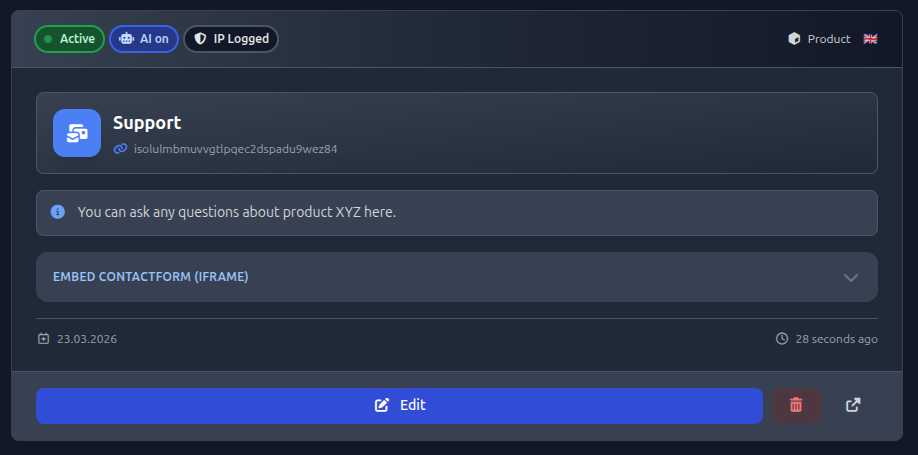
IP Address Logging
If enabled, the sender’s IP address will be stored.
Upload logo
Optionally upload a logo to display in the form.
Save form
Click “Create” to save your form.
Test form
Use the link icon to open and test your form.
Embed form
Open the Embed ContactForm (iframe) section, copy the code, and add it to your website.