How to Set Up Your Chatbot
Follow these steps and your chatbot will be ready in just a few minutes.
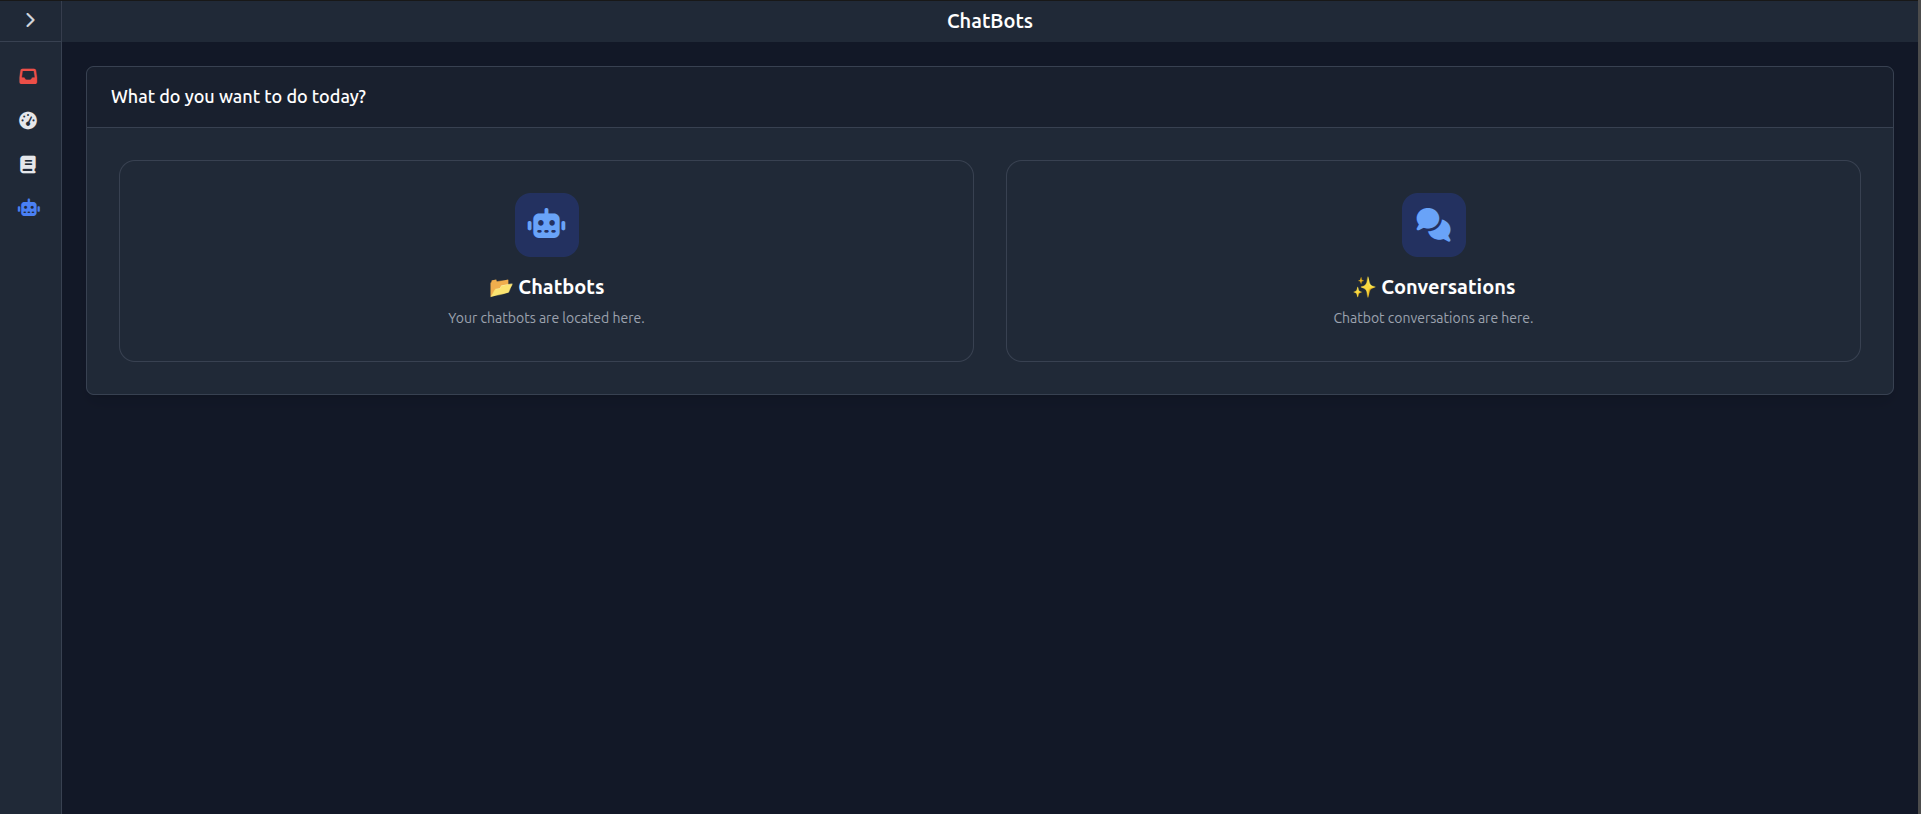
Open the menu and go to the “ChatBots” section. There you will find “Chatbots” and “Conversations”. In “Chatbots” you can create and manage your chatbots. In “Conversations” you can view all chatbot conversations.
Your Setup in few steps
Create a chatbot
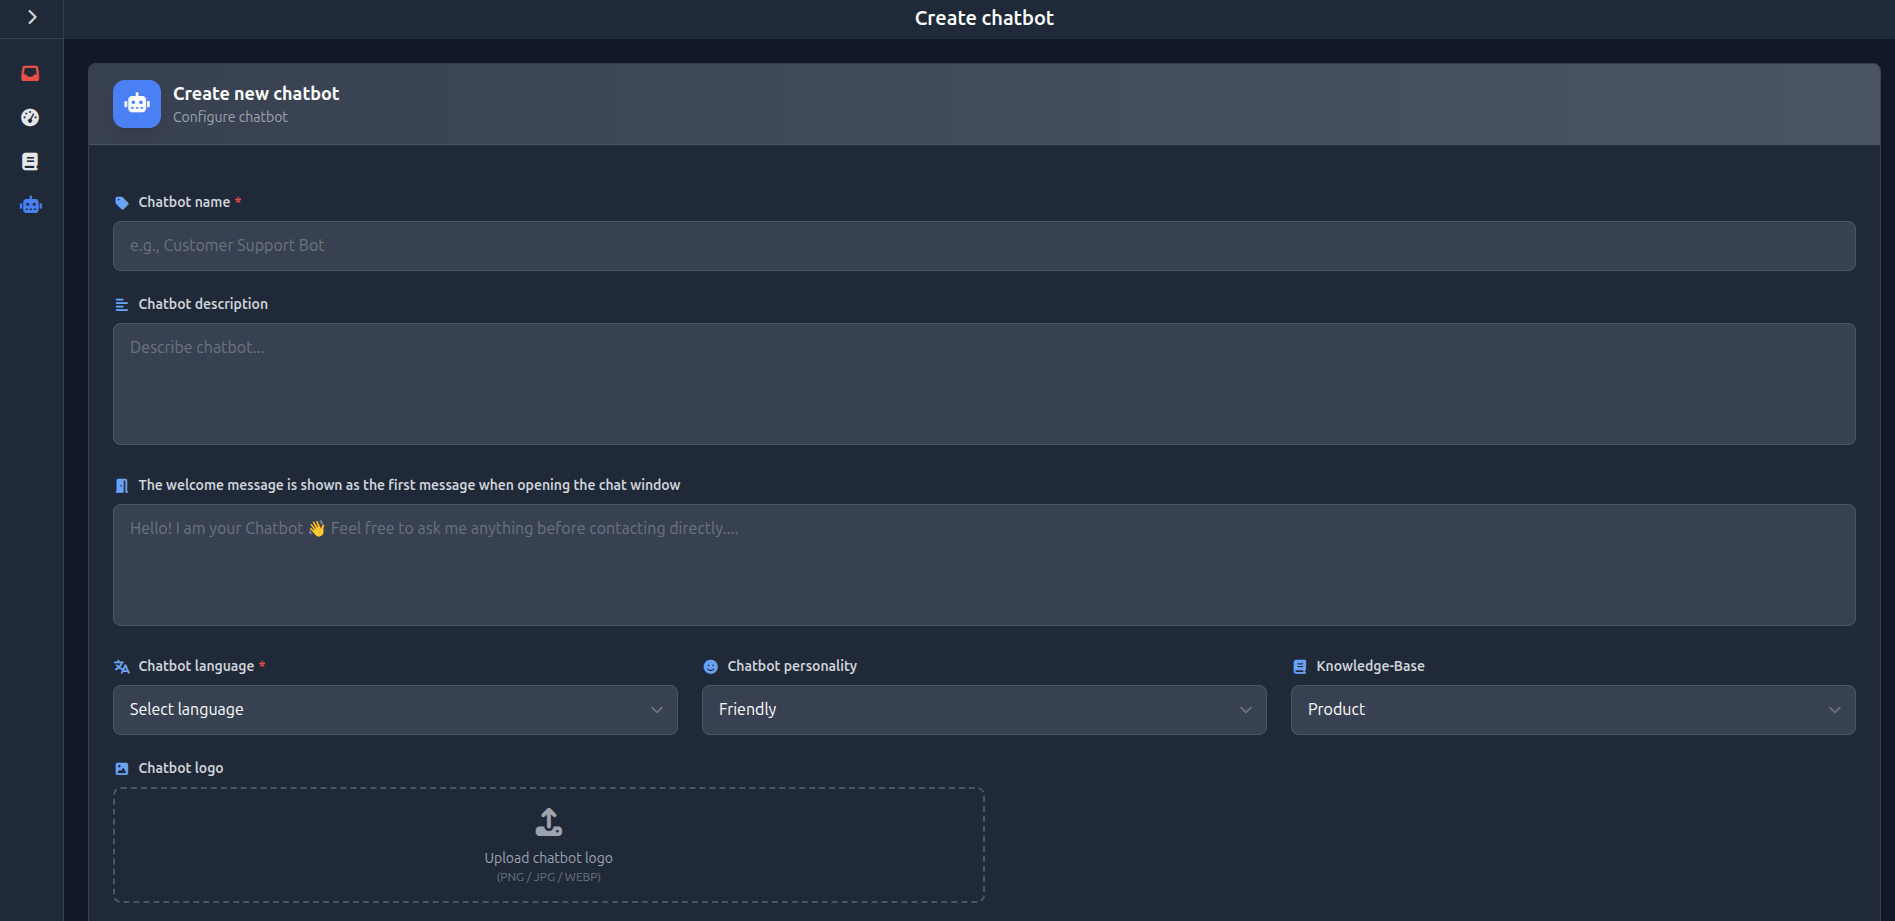
Open the “Chatbots” section and click “Add Chatbot”.
Set name and description
The name is visible to users. The description is for internal use only.
Define welcome message
This message is shown automatically when a user opens the chat window.
Select language
The chatbot adapts to your users’ language. The selected language is important for synonyms and knowledge base processing.
Choose personality
Define how your chatbot communicates, e.g. friendly, professional, or direct.
Connect knowledge base
The chatbot uses stored content to generate responses. Select the appropriate knowledge base.
Upload logo
Optionally upload a logo that will be displayed in the chat window.
Create chatbot
Click “Create” to save your chatbot.
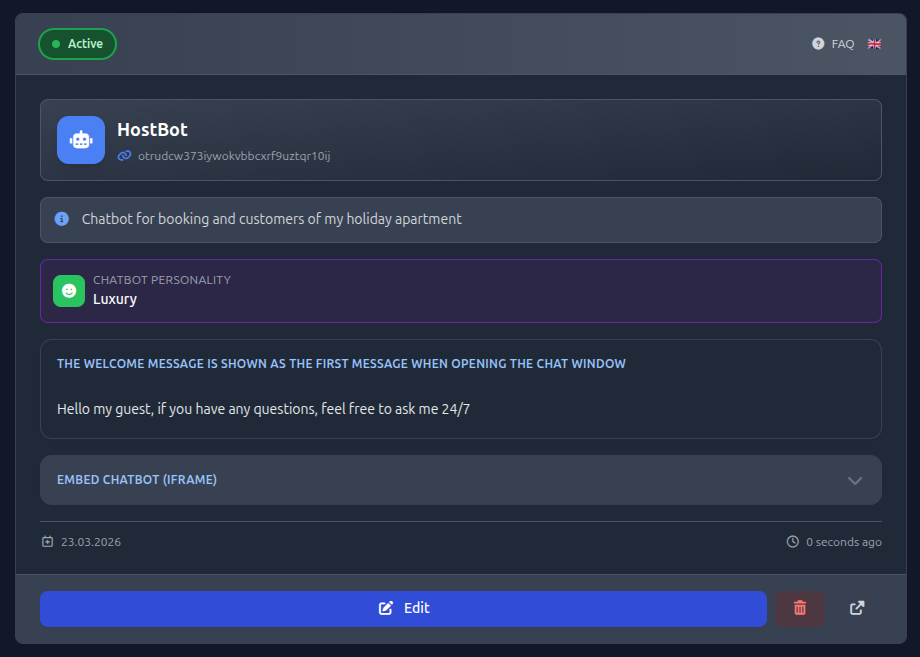
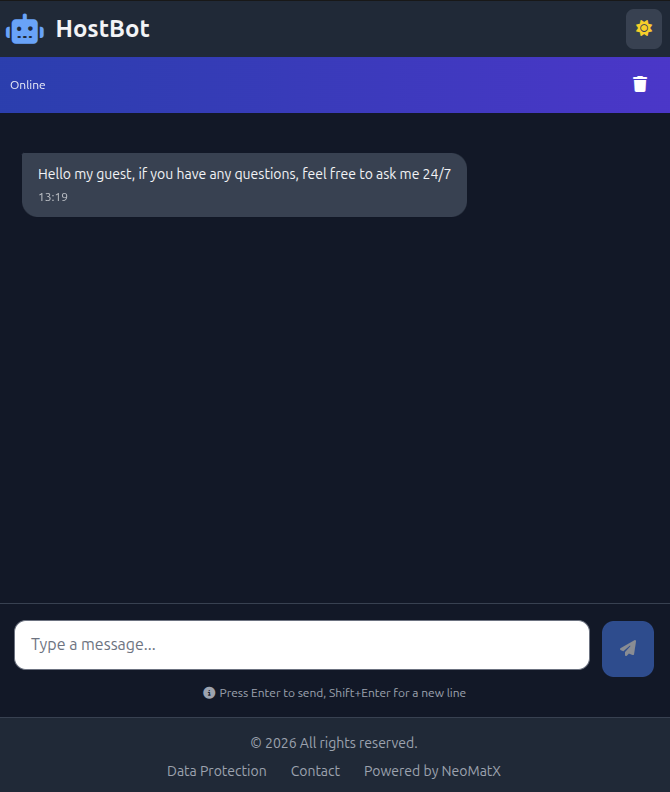
Test chatbot
Click the icon in the bottom right corner to test your chatbot.
Embed chatbot
Open the Embed chatbot (iframe) section, copy the code, and add it to your website.